The Gurrola Family

  • Home
  • About Us
  • Blog
  • Reviews
  • Recipes
  • Kids Activities
  • Contact Us

Category Archives: DIY

Remember Red Poppies

Posted on May 28, 2021 by Daniel & April

Memorial Day poppies usually appear every year and raise funds for a great cause, but over the last couple years I see less and less of them. Then what really breaks my heart is that most people don’t even understand their significance for Memorial Day. It’s a rich part of not only American history but world history.

So here is the history behind these beautiful red flowers…
The red poppy, or Remembrance Poppy, has been a symbol of lives lost to war since World War I (1914–1918), and it plays a big part in the history of Memorial Day. The poppy is worn in many of the countries that were Allied during World War I, including Great Britain, France, Belgium, Australia, New Zealand, Canada, and the United States. In most of those other countries, the poppy is worn on and leading up to Armistice Day (also known as Remembrance Day) on November 11, which is Veterans Day in the United States, or on ANZAC Day (April 25) in New Zealand and Australia, which commemorates the Australian and New Zealand Army Corps troops who served in the 1915 Gallipoli Campaign. But in the United States, the poppy is worn on Memorial Day.

The poppy as a symbol of war casualties started with a poem. In the spring of 1915, a Canadian artillery unit brigade surgeon named Lieutenant Colonel John McCrae saw bright red poppies blooming on the war-torn fields where so many soldiers had lost their lives, and he was moved to write “In Flanders Fields.”

The poem begins, “In Flanders fields the poppies blow / Between the crosses, row on row,” and ends, “If ye break faith with us who die / We shall not sleep, though poppies grow / In Flanders fields.” The poem was published in a London magazine and later syndicated to publications in other Allied countries, where it was seen by two separate (but important) women.

Two women in different countries saw the poem and were inspired in different ways. American University of Georgia professor Moïna Michael wrote a poem in response to McCrae’s, titled “We Shall Keep Faith,” in 1918. She also started wearing a red poppy in honor of the troops and came up with the idea of making and selling red poppies to raise money for veterans.

Meanwhile, in France, Anna Guérin organized large poppy drives, making and selling poppies to raise money for widows, orphans, and veterans, and to fund France’s post-war restoration efforts. She championed her idea for an “Inter-Allied Poppy Day” and started Poppy Days worldwide, during which fundraising poppies were sold in many Allied countries. Poppy factories were set up, often employing disabled servicemen to make the silk and paper blooms.

To this day many Americans will pin a bright red poppy to their shirts as a sign of respect. In the United States, the poppy is traditionally worn on the last Monday in May, Memorial Day, to commemorate the lives of those who died fighting for our country. The Friday before Memorial Day is National Poppy Day. You can find poppies that are handmade by veterans as part of their therapeutic rehabilitation and distributed across the country by the American Legion Auxiliary in exchange for donations that assist disabled and hospitalized veterans. Be sure to also check with your local Veterans programs to see if they are offering poppy pins to support your local veterans.

Help Keep The Red Poppy Tradition Alive

Here are some fun resources to teach your kids about the importance of the Red Poppy

Books: YouTube Read Alouds

A Poppy is to Remember

The Poppy Lady

The Poppy Story 

Short video on the history and how Australia uses the poppy

Red Poppy Craft

Poppy Flower Art Projects for Remembrance Day

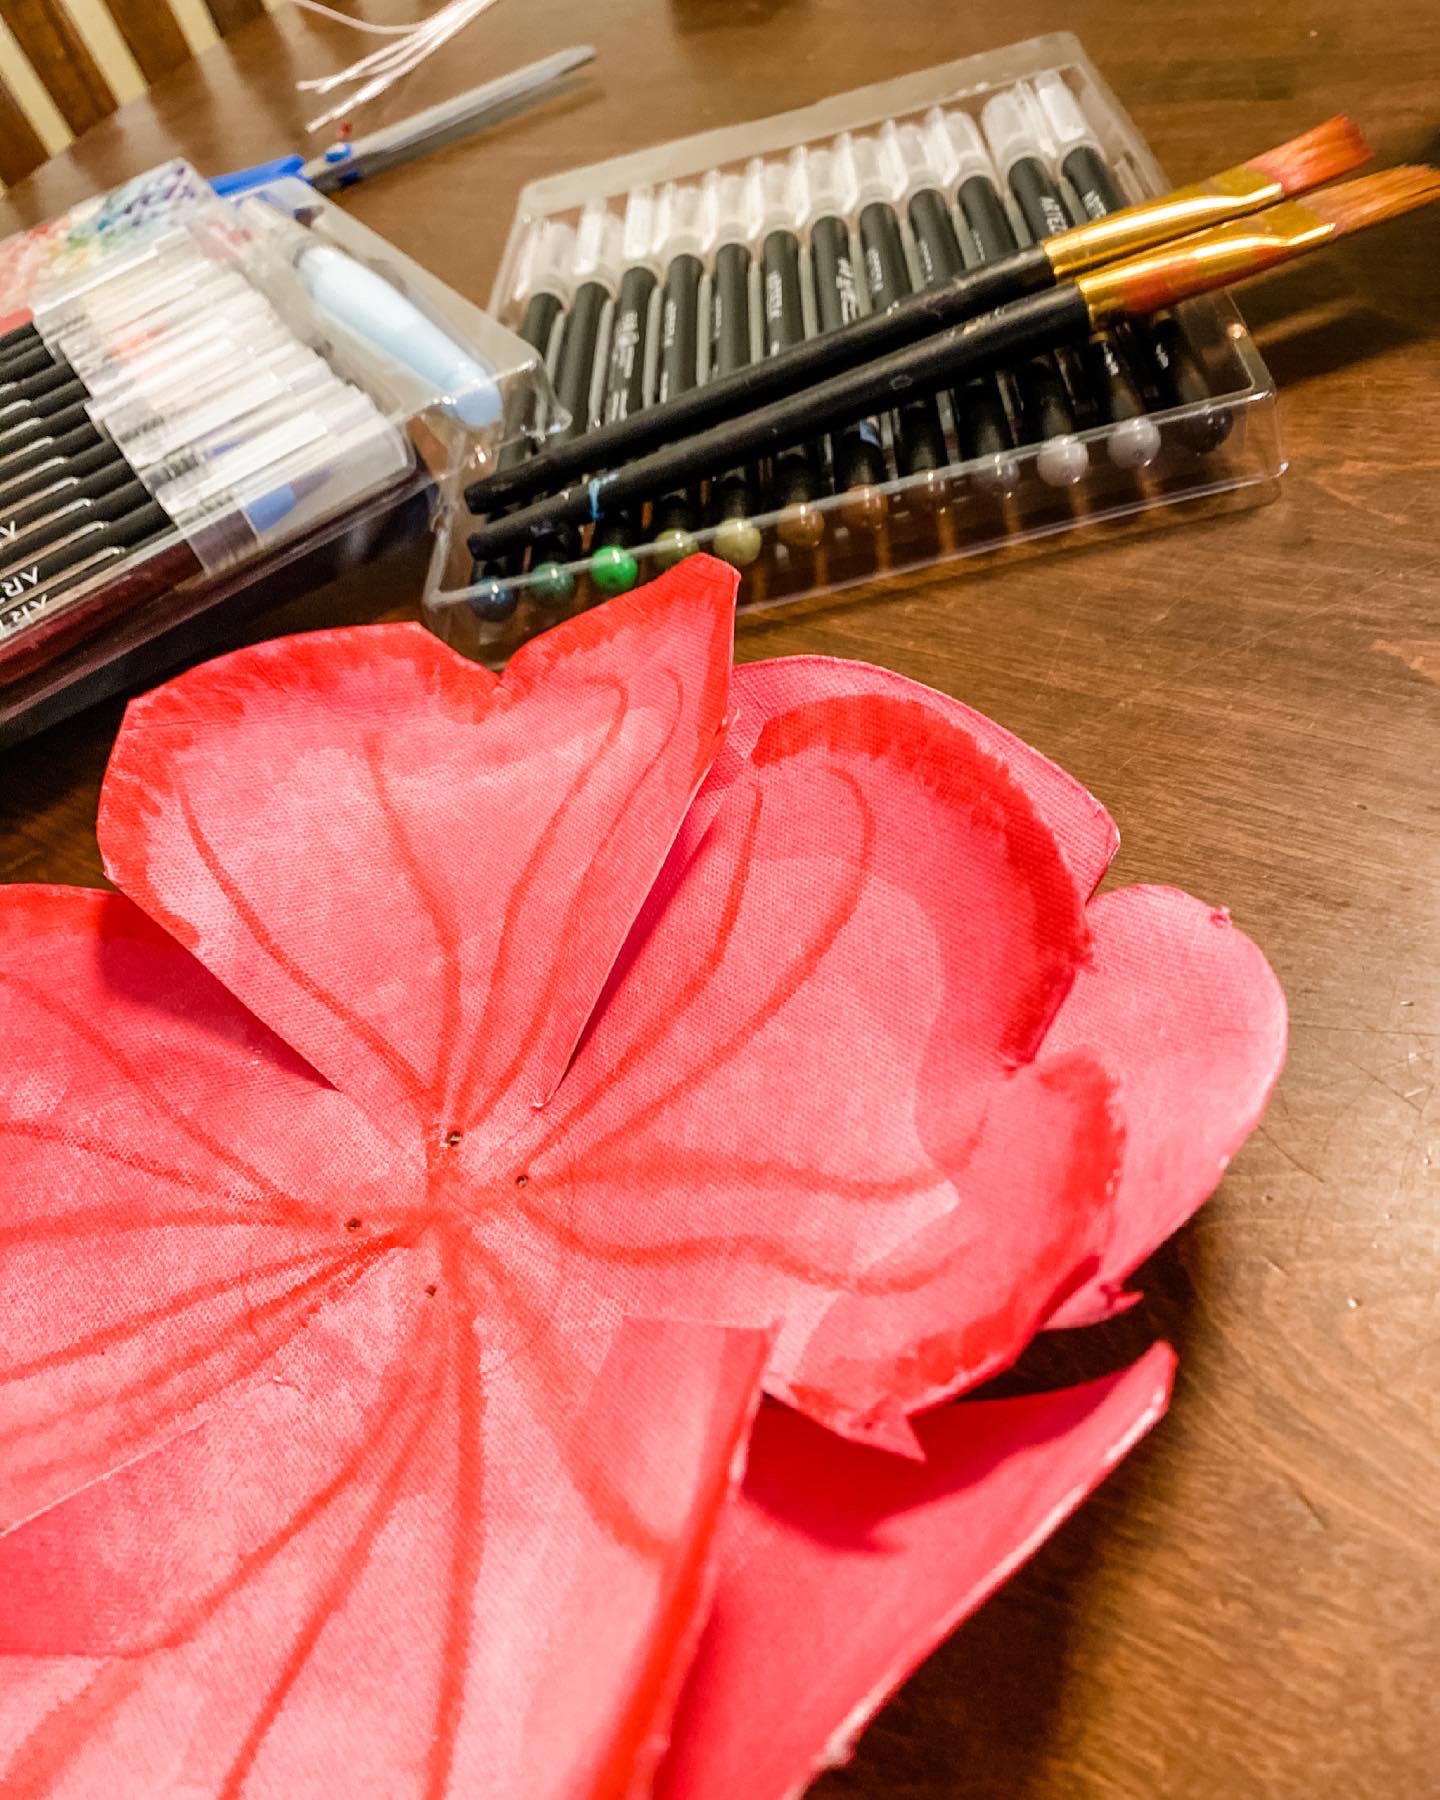
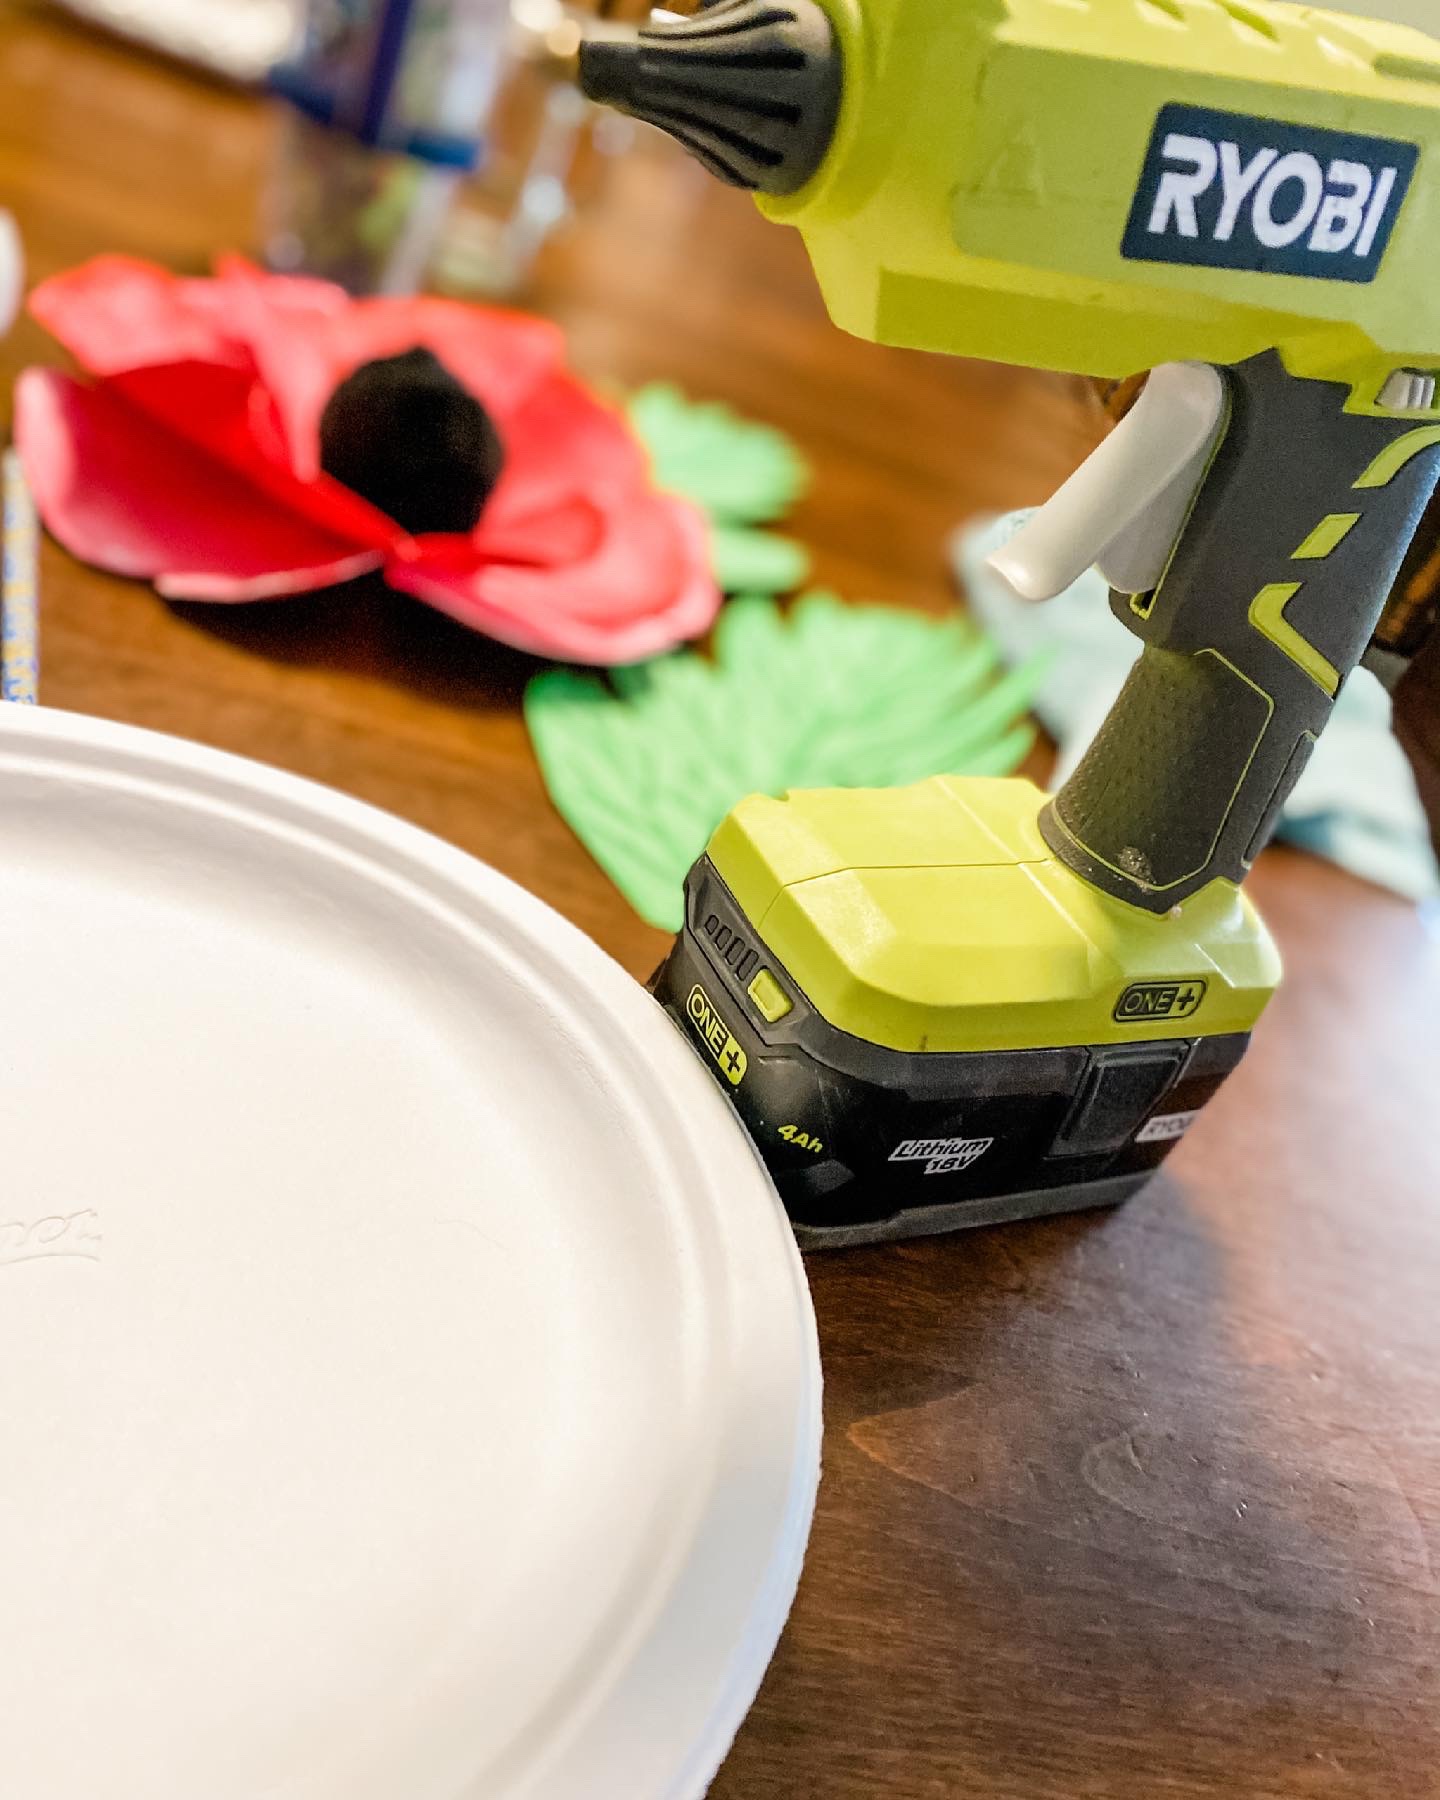
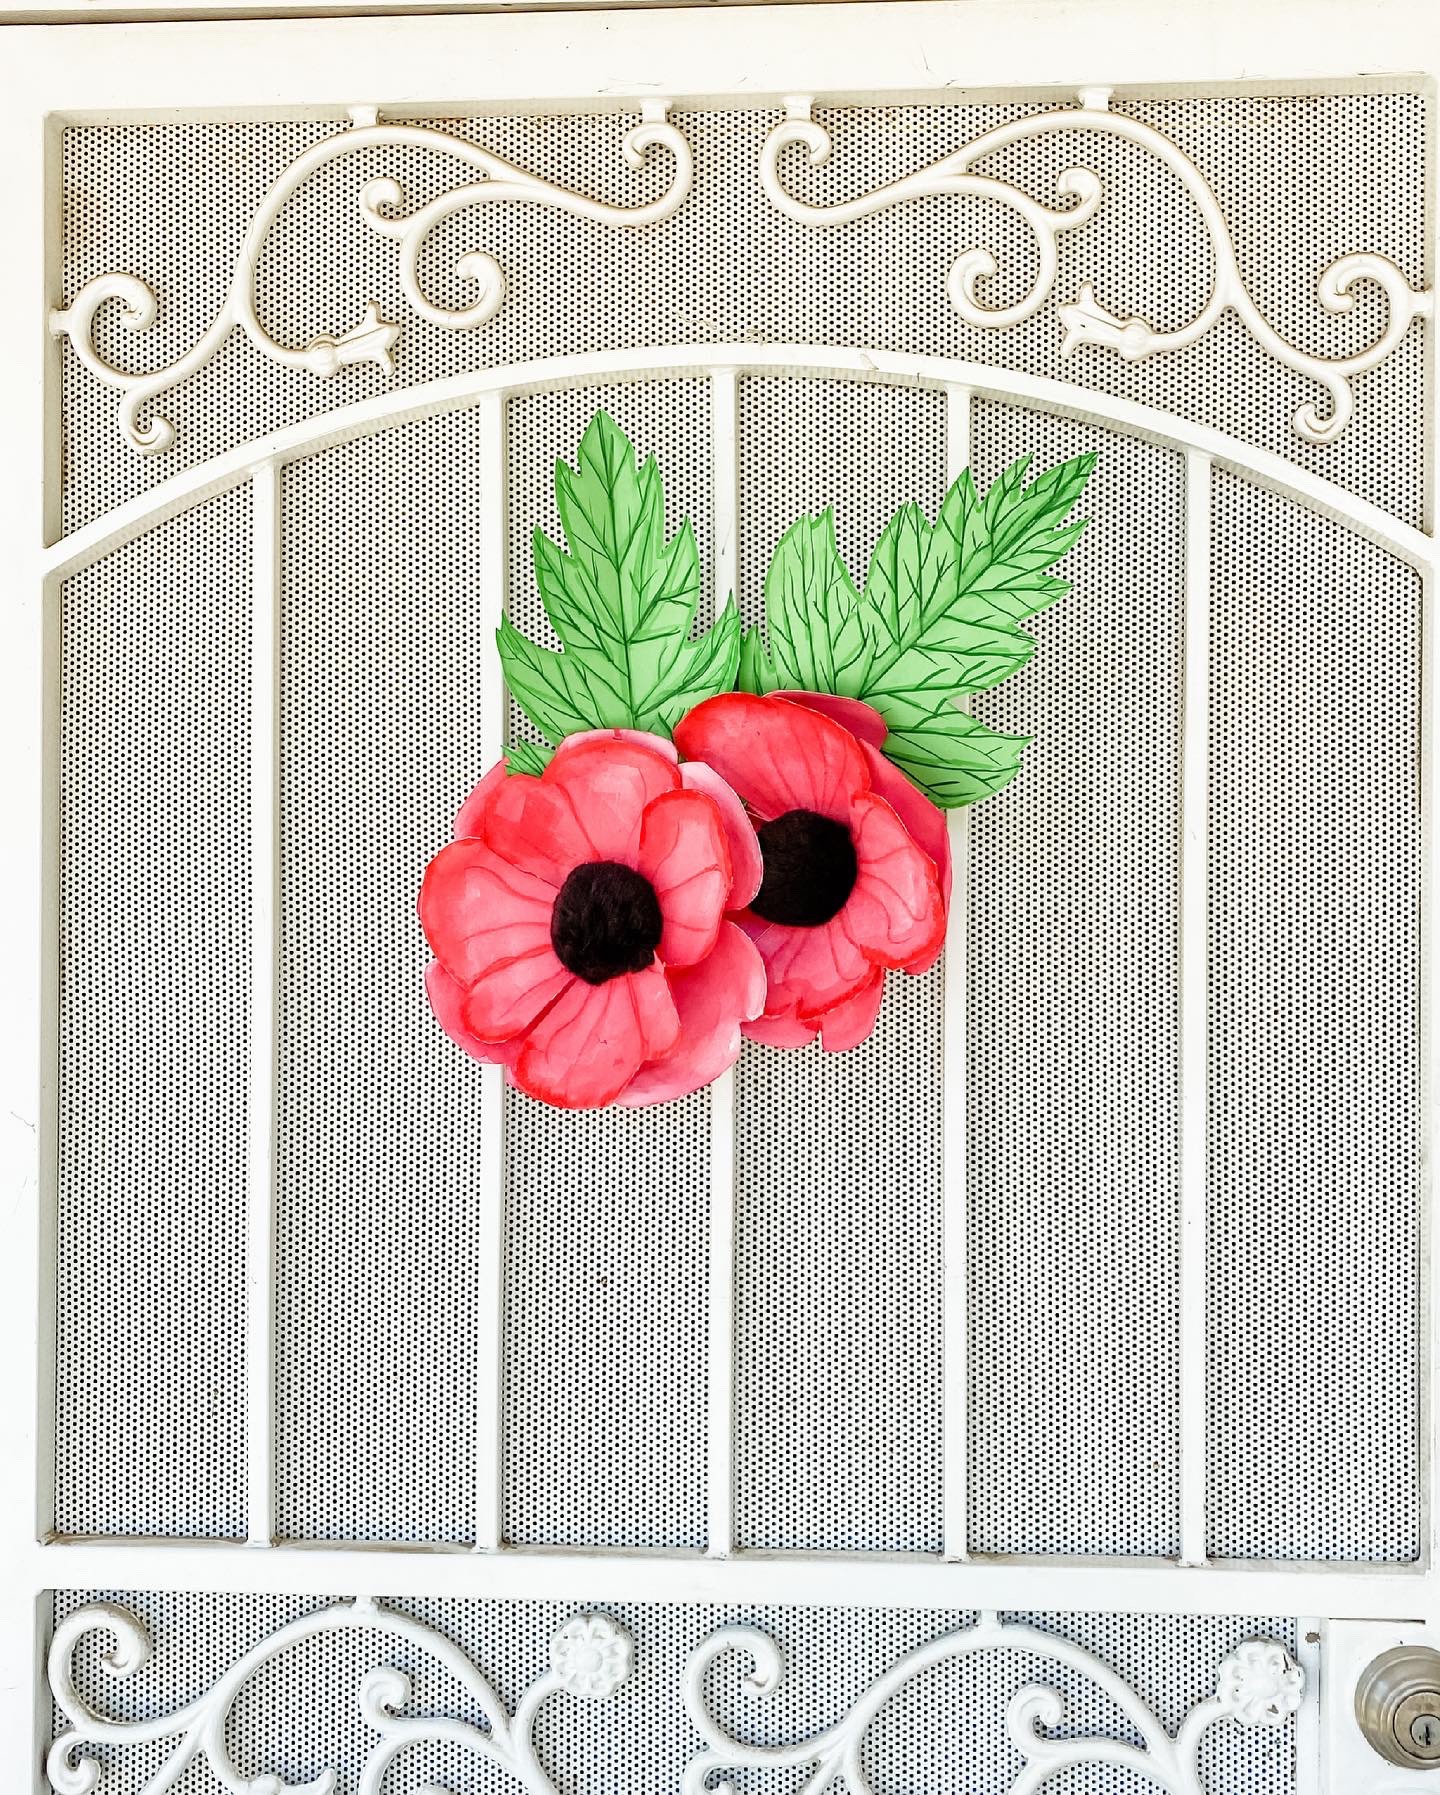
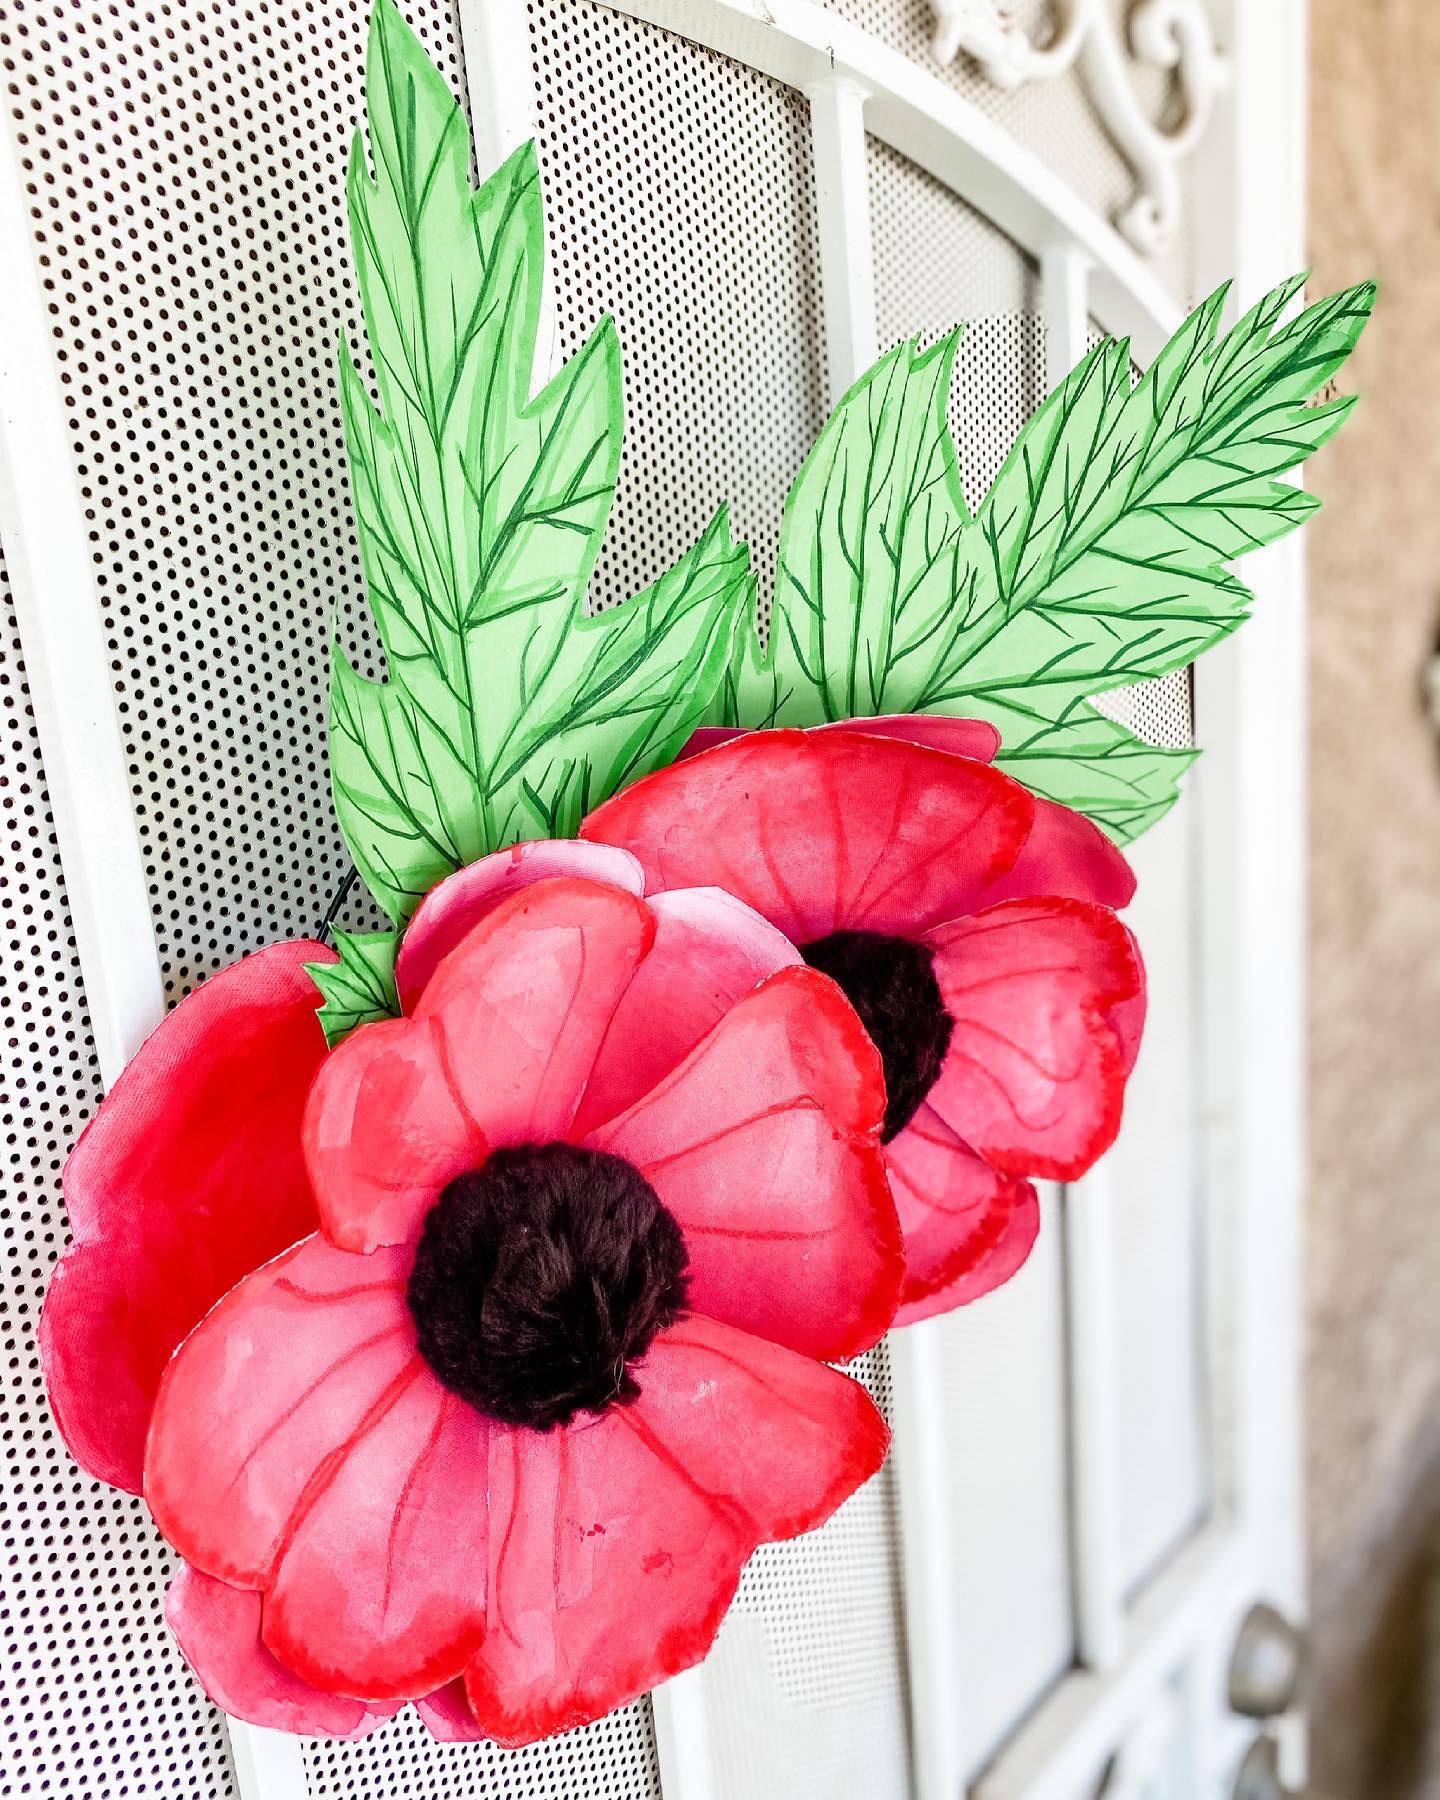
We used the second activity from the poppy flower project and used big black pom poms for my stigma, instead of drawing them on. We double plated our poppies to make them fuller. Make sure to soften and work the paper petals and bend them the way you want them. Then we made big green leaves from card stock and added details using watercolor pens.

Posted in DIY, Family, Homeschool, Kids Activities, Summer, Weekend Fun | Tags: Homeschool, homeschool resources, HomeSchooling, Memorial Day, Red Poppies, Red Poppy |

Custom Calendar

Posted on October 17, 2017 by Daniel & April

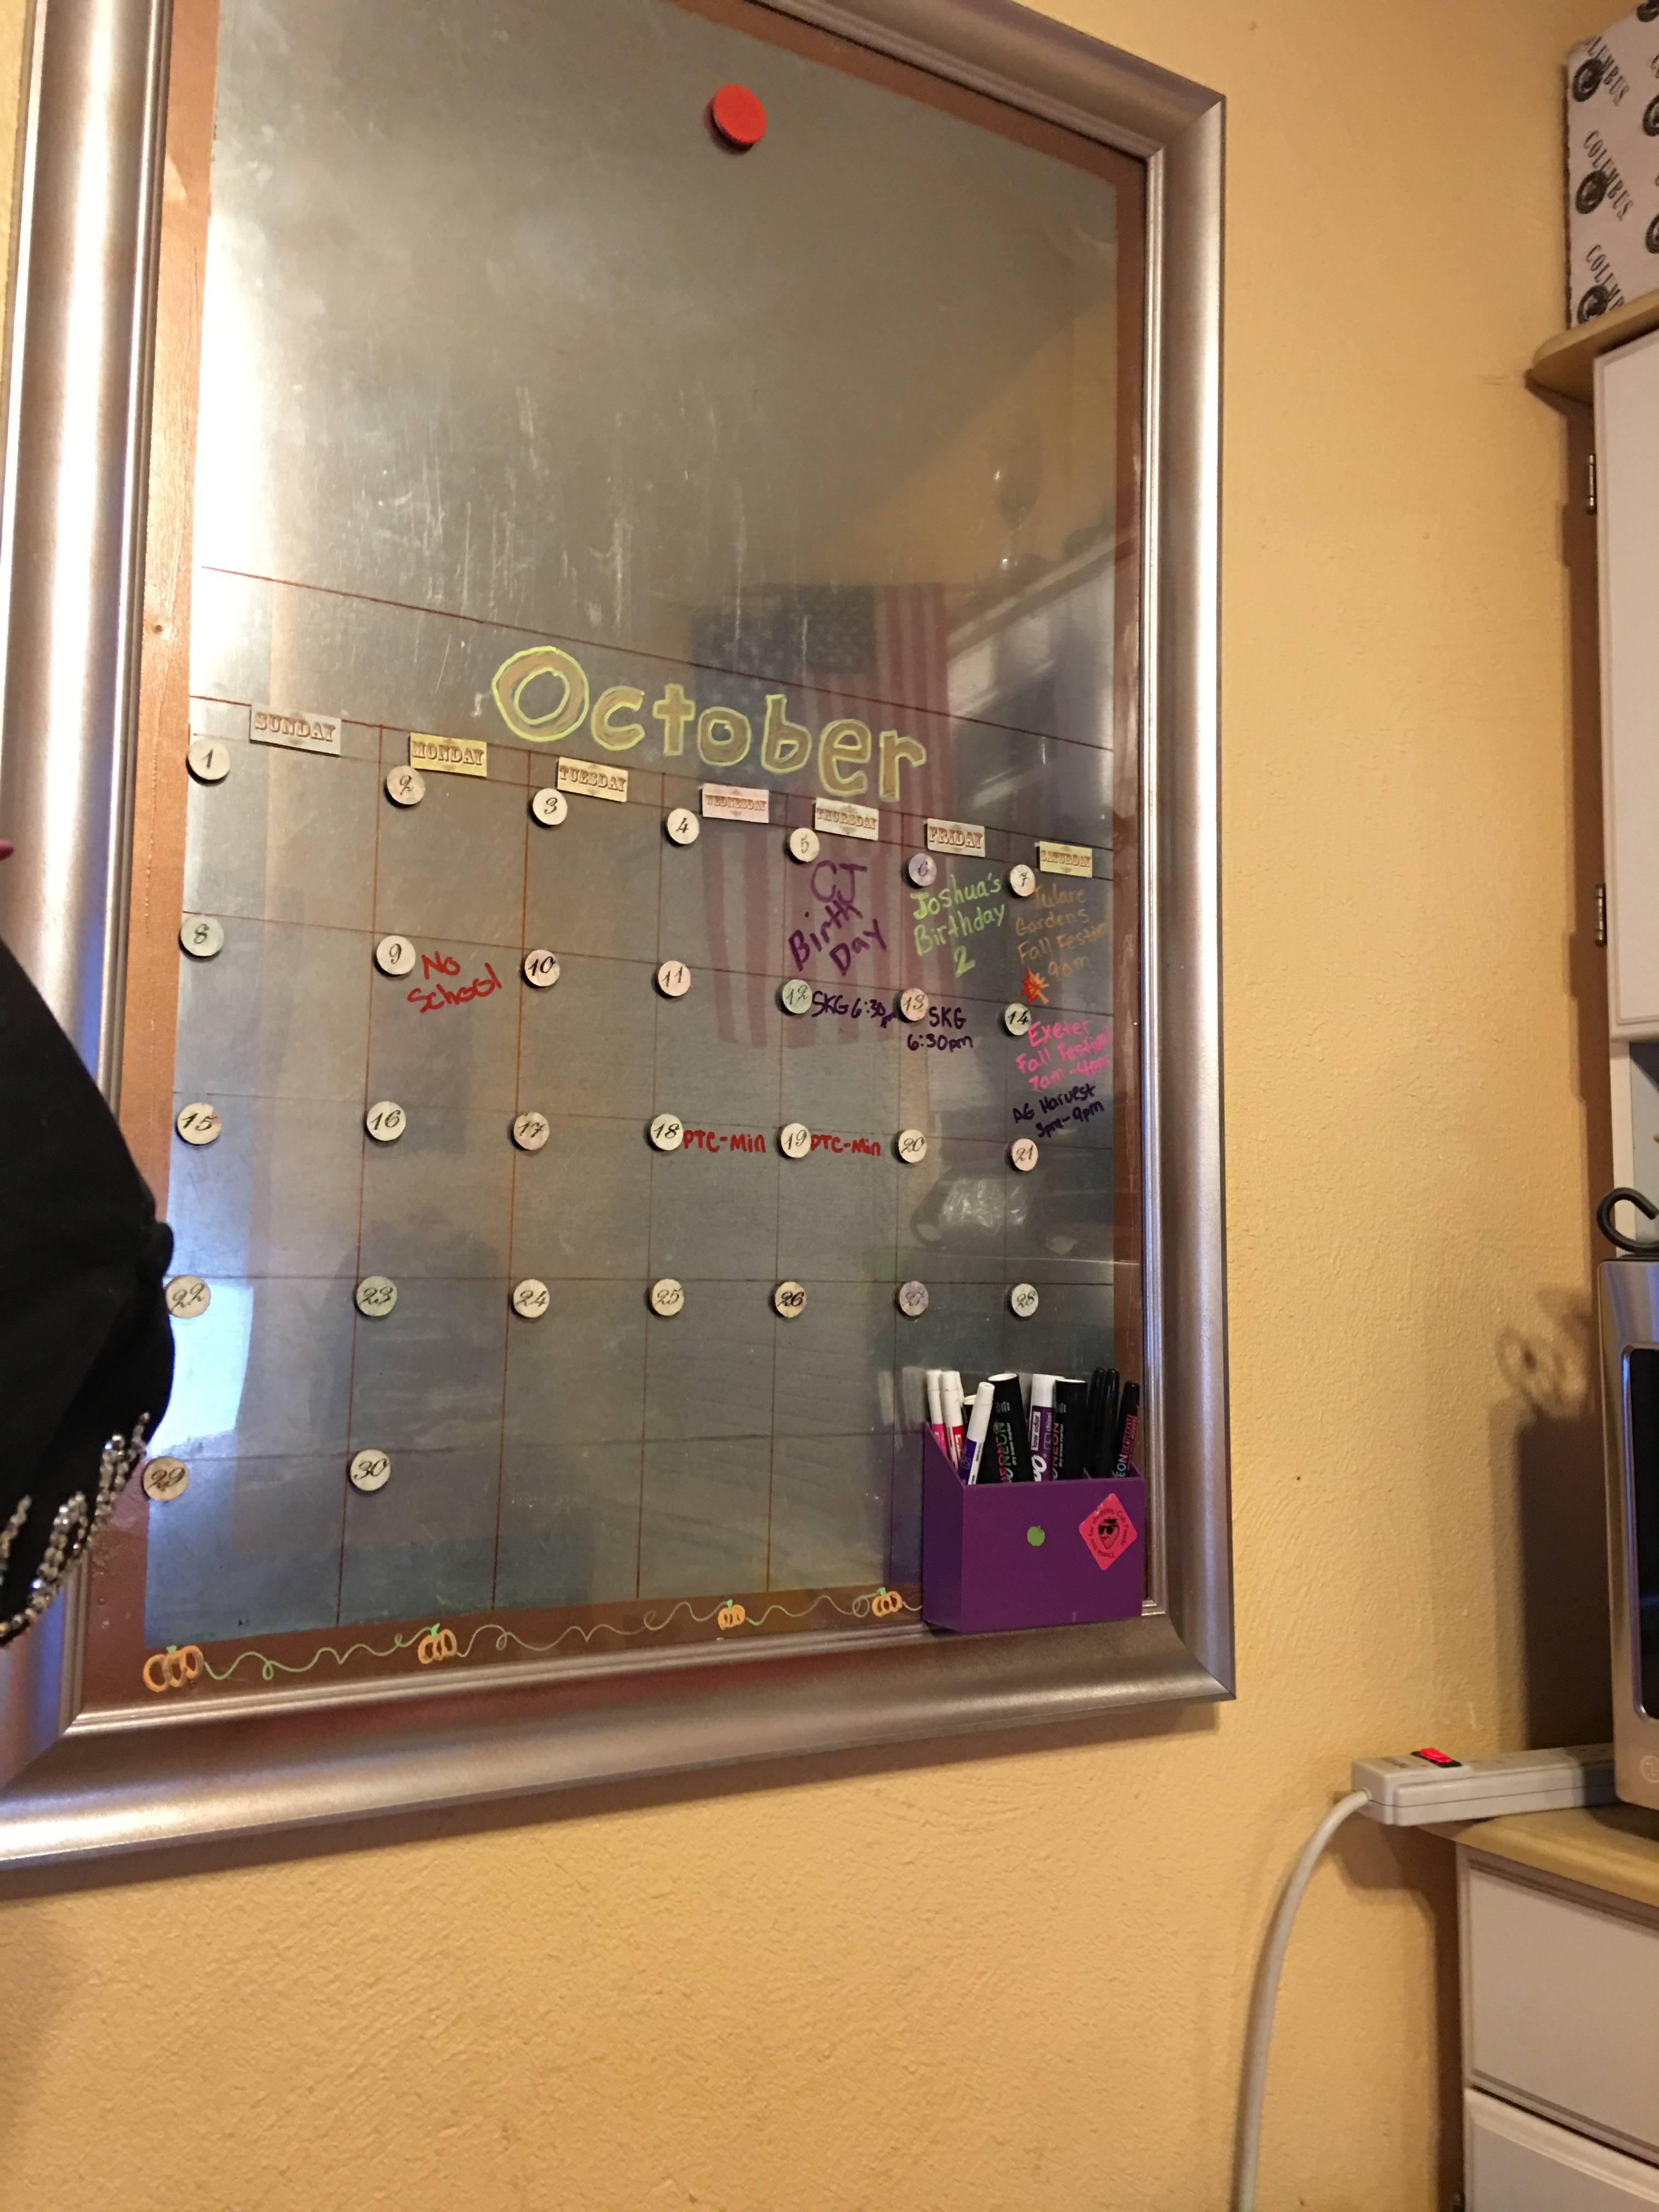
Here’s a simple way to make a fancy customized calendar/event board. If you’re tired of everyone in your family clipping everything to the refrigerator & it falling off each time someone opens it…. then this DIY is for you!

Materials Needed

  • 24 x 36 piece of sheet metal (tip: find a slightly damaged one for a discount)
  • Dark Colored Sharpies
  • Long Ruler or straight edge
  • 24 x 36 Poster Frame w/ glass or plexiglass (I found a nice one for under $20 at WalMart)
  • Spray Paint

First decide which direction you want your calendar to be… vertical or horizontal.

I went with vertical. Then I marked out my calendar heading, days columns & date boxes using a ruler & a dark colored sharpie marker on my piece of sheet metal. (You can choose to paint your sheet metal first but I wanted the original silver color.) I only taped off a border & sprayed it a brownish copper.

Next I took a part my inexpensive frame and painted it an antiqued silvery copper. After it dried for a few hours I placed my plexiglass back in the frame & my marked out sheet metal.

FYI: You can choose to write your days of the week (Sunday, Monday etc) on the sheet metal or you can go with Magnets with the days of the week printed on them.

Finally you can hang it up. Be sure to use good nails & place it on at least one stud if you want it to hold a lot of items.

Now you just decorate it how you choose by using window markers, chalk markers or dry erase markers. You can choose to write the dates in each month or go with magnets. I made my own magnets to match my decor. Here’s a link to a kit to make your own: Blank Magnet Sheets

Posted in DIY, Organization | Tags: Calendar, California, Crafting, Crafts, DIY, Families, Family, Get Organized, Moms, organizer, safe, smart, Tulare, Visalia | Leave a comment |

The Fort

Posted on July 4, 2015 by Daniel & April

IMG_6064
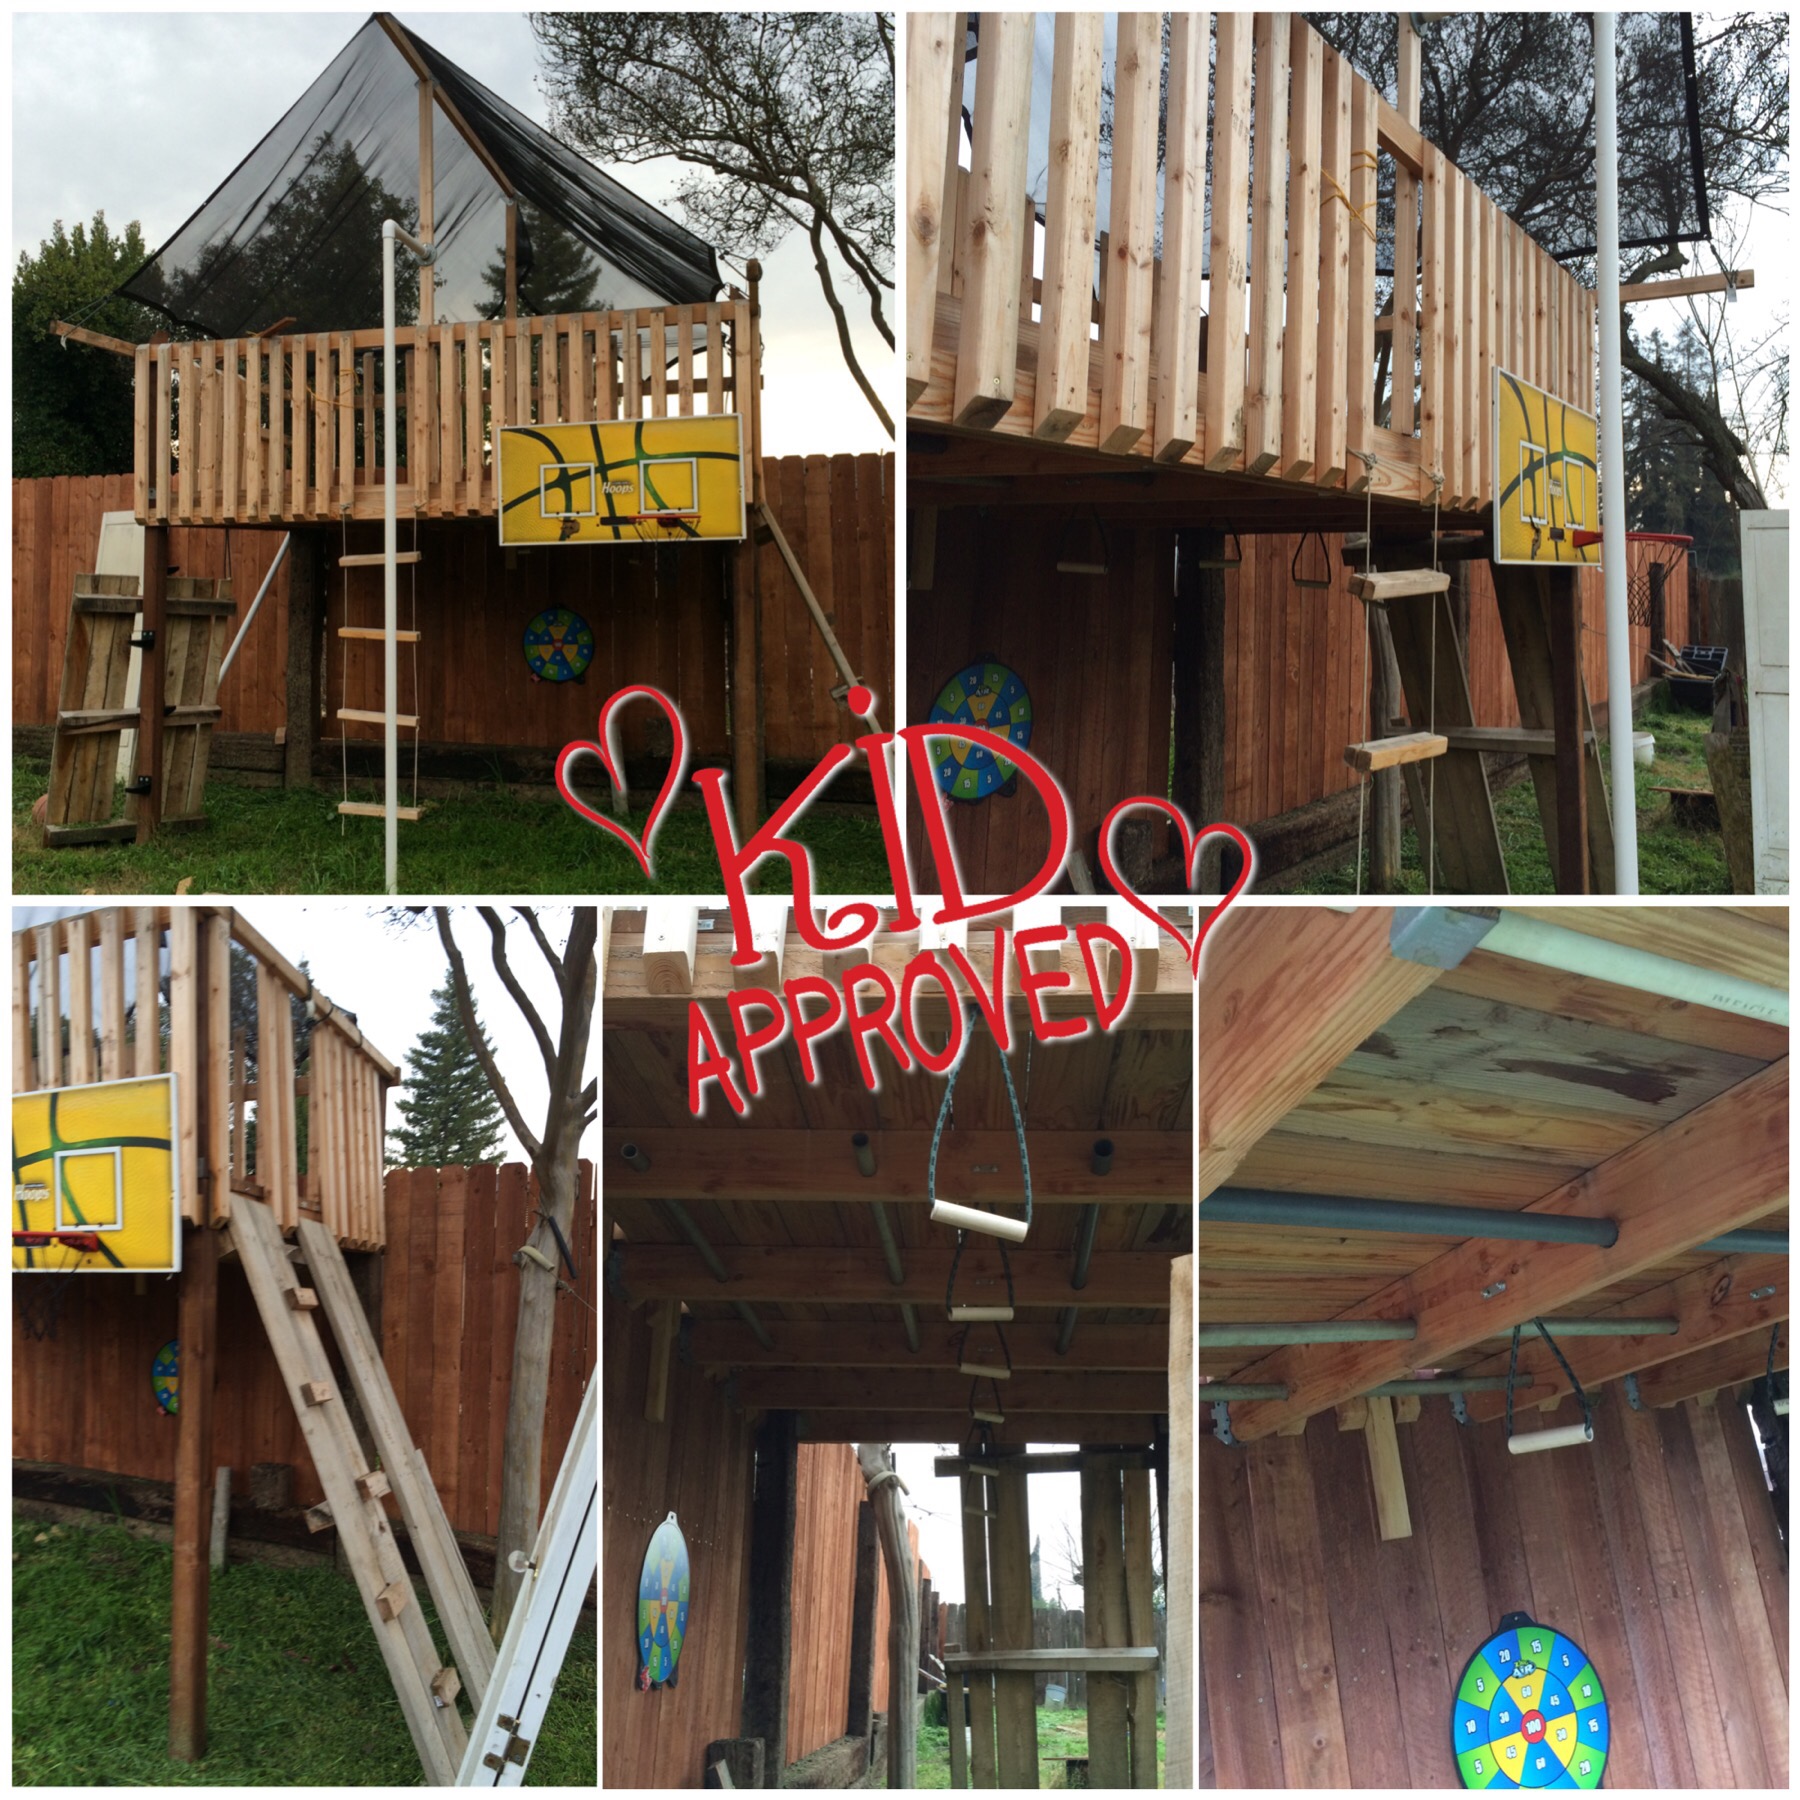
Call it whatever you like, a fort, a hideout, a den, a cave, a secret place, it provides your child a space just for them. It’s a separate area for your child to make their own, fill with their own style and personality and take refuge from the world.

Forts were a huge part of my childhood. It was endless hours of entertainment. My dad built me a great one in my backyard even with a slide into our pool during the summer. Forts let you stretch your imagination. You can imagine anything from defending a castle or opening your very own cafe.

In our home we try to stay away from gadget/screen time. We would rather our kids build their own worlds than get sucked into someone else’s idea of the world.

So we began constructing the fort back in June and it is now finally complete! The kids sat down and helped design it with all sorts of crazy ideas and a few practical ones here and there.

Forts don’t have to be huge or elaborate they just need the basics and the kids can run wild with it from there.

Posted in DIY, Family, Kids Activities | Leave a comment |

DIY Patriotic Clothing

Posted on June 14, 2015 by Daniel & April

About Our Project

We cut up daddies old stained white shirts and fabric glued them into kid sized shirts, dresses & tank tops. Adults used spray paint, kids used safe non-toxic paints when painting themselves.

Supplies Needed:

  • T-Shirts (New or Old)
  • Masking Tape or Painters Tape
  • Stickers (shapes with sharp lines work best)
  • Paint (Spray Paint or Make your own & put in a spray bottle)
  • Cardboard for inside the shirts & an extra piece to guide your paint
Step 1

Plan out your design (sketch it out on paper)

Step 2

Place your tape or sticker shapes where you want the white to remain.

Step 3

Paint. (Watch video above for technique ideas.)

Step 4

Let sun dry at least 2 hours. Then place in dryer to heat set the paint.

Step 5

Wash alone in washer with cold water, mild detergent & fabric softener.

Step 6

Line dry inside or out.

Step 7

Wear & take compliments graciously.

Tips

When making your own non-toxic paint for kids to use be sure not to make it too watery otherwise you will get a watercolor effect rather than sharp lines.

Posted in DIY, Kids Activities | Tags: Crafty, Crafty Kids, Crafty Moms, DIY, DIY Clothes Projects, DIY Patriotic Shirts, Do It yourself, Flag Shirts, Kids Activity, Kids Projects, Painted Shirts, Patriotic Shirts, Red White & Blue, USA Shirts | Leave a comment |

All Natural Hairspray

Posted on June 10, 2015 by Daniel & April

100 ORGANIC hairspray

The chemicals and cost of keeping our hair looking good is frustrating. I can hardly bear to think about the chemicals my kids & I have inhaled with cheap hairspray, not to mention that is sits on our hair all day long. Plus the cost to buy natural hairspray is ridiculous. So with that said we decided test out the best DIY Hairspray recipes and see what really works.

This is the best we came up with:

Ingredients

1 whole orange (for dark hair) or lemon (for light hair), preferably organic (to avoid having pesticides in your hairspray)
2 1/4 cups distilled or filtered water
2-3 tablespoons high proof vodka
6-8 drops of Tea Tree essential oil (use only 100% pure essential oils)

Step 1
Cut a whole lemon or orange into wedges and combine with 2 1/4 cups water in a small pot. Boil over medium high heat until liquid is reduced by half.

Step 2
Strain liquid through a fine strainer into a measuring cup. If you boiled too much liquid out add water until you have 1 cup. Allow citrus mixture to cool.

Step 3
Combine vodka and tea tree essential oils in a small bowl, whisk to mix, then add to the cup of citrus juice.

Step 4
Pour mixture into a spray bottle with a fine mister and shake to combine ingredients. Remember to Shake before each use.

A Few Tips:
This is not a maximum hold hairspray that will freeze and hold 80’s bangs for days. It is a flexible hold formula. We really prefer this to the other brands, plus you don’t feel the need to wear a gas mask during each use. FYI if you want to turn this recipe into an organic/chemical free version of “Sun-In” add 1/2 tsp of real honey to step 1 using lemons.


Posted in Clean Living, DIY | Tags: DIY HairCare, DIY Sun-In, Natural Hairspray, Natural Sun-In, Organic Haircare | Leave a comment |

Follow Us On Instagram

Thank You

© The Gurrola Family
Sign-Up to receive our FREE monthly newsletter.